
3 Simple Steps to Design Your Best Christmas Card
You finally have your gorgeous, updated family photos — and you can’t wait to share them on your Christmas cards this year!
You open Google, ready to find the perfect design.
And somehow, three hours, twelve snacks, two shots of espresso, and 987 clicks later… you’re back at square one, still wondering how anyone ever finds the right card.
Sound familiar?
Trust me — I’ve been there (probably with even more snacks and espresso involved).
After nearly two decades of designing and ordering my family’s holiday cards, I’ve learned a few tricks that make the process so much easier.
Here are my three simple steps to create your best Christmas card ever, plus a few bonus tips to take your cards from good to gorgeous — without adding stress to your holiday season.

Step 1: Choose Your Favorite Photos
The first thing I always do is decide which photos (and how many) I want to include.
I recommend choosing the card based on your photos, not the other way around.
Whether you’re using your stunning new family portraits (maybe from one of us professional photographers 😉) or sweet snapshots from the year, start by picking your favorites.
👉 Pro tip: Try to keep it under six photos. Fewer images mean each one gets the attention it deserves.
If you’re having trouble deciding, narrow it down to about ten and upload them — you can always fine-tune from there.
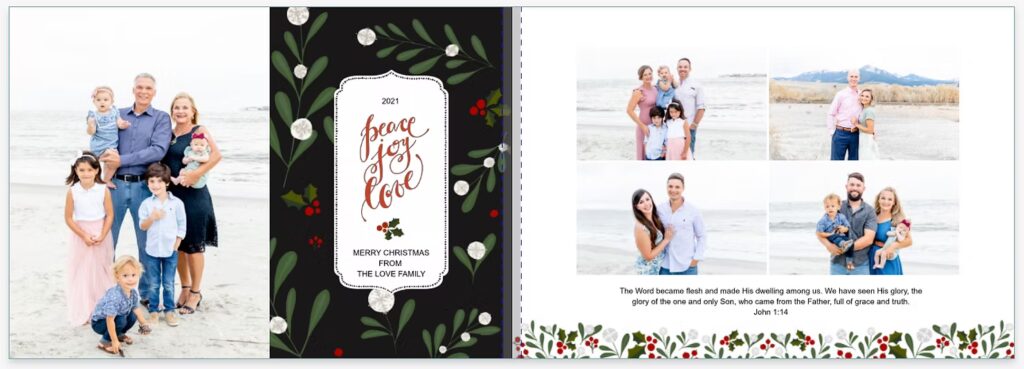
Example: When I design my family’s card, I include five photos: one of my parents, then one for each of their children with their families.
Bonus tip: Choose photos that can work in both portrait and landscape orientations. This gives you more flexibility when selecting a card layout later on.

Step 2: Pick a Card Shape
Once you have your photos, it’s time to pick a card shape — this simple step will instantly narrow down your search results and save you so much time.
Landscape, portrait, or square — each one has a different feel.
I usually gravitate toward portrait or square because they tend to look clean and classic.
Choose the one that fits your photos best and try not to overthink it. (You can always switch it later!)

Step 3: Match the Colors to Your Photos
Now for the fun part — design!
When browsing card templates, look for color palettes that complement your photos.
For example, if your family outfits are soft and neutral, a white card with gold or taupe accents will look elegant and cohesive. If your photos are bold and colorful, try a deep green or rich navy background to make them pop.
💡 Pro tip: Use the search filters on your favorite card site to narrow down by color, layout, and number of photos. You’ll find what you love so much faster — and avoid the endless scroll.
A Few Final Touches
✨ Upgrade your paper. A simple upgrade can make a huge difference! My personal favorite is a pearl cardstock — it has the perfect weight and a subtle sheen that feels luxe without being overly glossy.
✉️ Consider envelope addressing. If the site offers printed addresses, it’s worth the few extra dollars to save yourself time and hand cramps later.
🎄 Focus on joy. The process of creating your holiday cards should be just as joyful as sending them. Make it fun, grab a snack (and an espresso!), and remember — perfection isn’t the goal. Connection is.
At the end of the day, your Christmas cards should bring smiles all around — to the people who open them, and to you while creating them.
Did I miss any of your favorite Christmas card tips? I’d love to hear them!
Come hang out with me on social:
📸 Instagram | 💌 Facebook | 🌿 Website


